So I promised you guys a blogpost on why I've been MIA. Well to keep it short and simple: school. I'm in my final year and will be taking my exams in 3 weeks! It's all down to revision right now, but the previous weeks I've been working very hard on all my projects which needed to be finished. Now I've got two weeks to revise and 2 weeks of exams and then I'm done! Summer holiday!
It's hard to find time for blogging when school is asking so much of you, but I'll try to find time this final 4 weeks of school, because I really enjoy blogging, so much, I spend way to much time at it when I finally get around to blog.
Anyway, since I'm revising so much, and I'm definitely not the only one, I decided I would share my revision tips with you! I hope you'll find them useful and good luck to all of you with your A-levels, GCSEs, Finals and other exams!
But I know most people don't do this, because we're teenagers and have a life to live, so for those of you who didn't.. continue reading.
It is also best to start early on the day, in the morning, instead of the afternoon. You'll be done earlier on the day and have the evening left for fun things (or more revision). Don't revise for longer than 8 hours on a day and take regular breaks of 10-15 minutes every 1-2 hours. Take a break of 30 min. halfway through the day to relax a bit.
2. Find a good revision space, preferably a desk, but I know your bed is the comfier option. When you've found your revision space, make sure you've got everything you need, so you don't have an excuse to go downstairs and end up having a break for an hour
Make sure your revision space is in a quiet area and no one will disturb you. Put away your phone, your cat, turn off the TV and only use your laptop when you really need it.
Now you've found your place to revise, got all your stuff, your food and your music, let's start revising. The way people revise varies from person to person. It all depends on what you prefer and what works best for you. Down here is a list of methods I find really helpful and maybe they'll be helpful for you too.
8. Let's start with the real revision. Take notes. Taking notes is very important and I don't mean on the computer typing them out, because I see a lot of people do that. No, just grab a pen and notebook and write the notes down. Highlight the most important things, so you'll be able to find them back easily. Taking notes is especially important when you find it hard to focus, but I think everyone should do it.
Notes don't have to be pretty, but you need to be able to read them again. Don't waste precious time on your most beautiful handwriting. Colours are fun though and if you use them well they will work in your advance, by using the same colour for things which are linked to each other.
10. Explain. One of the best ways of learning is by explaining to others. Talk to your parents about what you've been revising all day during dinner, or help out a friend who has difficulties understanding a certain subject.
11. Use flashcards to learn keywords. Start with all the flashcards, when you've got them right the first time, draw a line on them, when a card has three lines you can put them away, so the stack of cards becomes less and less. In the end you only have the cards left with keywords you find hard.
12. Use sticky notes. Stick notes with important things you find hard to remember on places you'll see them a lot, like the mirror or the refrigerator. This way you'll read to note a lot of times and will start to remember it better.
13. Use revision guides. You can purchase them online or maybe borrow them from school or the library. These guides help you revising for certain subjects. They are really handy, especially for subjects you find hard. I have a revision guide for French and Management, it's so difficult!
16. Exercise. It is important to exercise. Sitting all day locked up in your room revising is not very active. Train those abs, muscles or boost your stamina by going for a run. It's not only good for your body, which will look amazing this summer, it will also make you learn better. It is proven that regular training leads to higher school grades. An exercise of 10 minutes rope skipping, push ups, sit ups, running, and so on, will suffice.

I haven't tried this one out myself, but I do believe this might work. It's definitely worth giving a try.
In the Netherlands we call this DonkeyBridges, but I have no idea what they are called in English.
20. And last, but not least Don't overdo it. If you are able to answer most questions on practice tests without having to look at your notes once, you know enough.
I hope you've found these tips helpful! If you know of any more tips, please leave them in the comments below. And I wish you all the best of luck with your revision and upcoming exams!

~Xx
It's hard to find time for blogging when school is asking so much of you, but I'll try to find time this final 4 weeks of school, because I really enjoy blogging, so much, I spend way to much time at it when I finally get around to blog.
Anyway, since I'm revising so much, and I'm definitely not the only one, I decided I would share my revision tips with you! I hope you'll find them useful and good luck to all of you with your A-levels, GCSEs, Finals and other exams!
 |
| Source: Tumblr.com |
1. It has to be thrown out there, but start early. You of course need to start your revision early, but a lot of the subjects you need to revise have been taught to you in class this year. If you start in the beginning of the year with taking notes and making summaries during your free time, you'll save a lot of time later. This will also make revision easier, since you've already done it before.
It is also best to start early on the day, in the morning, instead of the afternoon. You'll be done earlier on the day and have the evening left for fun things (or more revision). Don't revise for longer than 8 hours on a day and take regular breaks of 10-15 minutes every 1-2 hours. Take a break of 30 min. halfway through the day to relax a bit.
2. Find a good revision space, preferably a desk, but I know your bed is the comfier option. When you've found your revision space, make sure you've got everything you need, so you don't have an excuse to go downstairs and end up having a break for an hour
Make sure your revision space is in a quiet area and no one will disturb you. Put away your phone, your cat, turn off the TV and only use your laptop when you really need it.
 |
| Source: Tumblr.com |
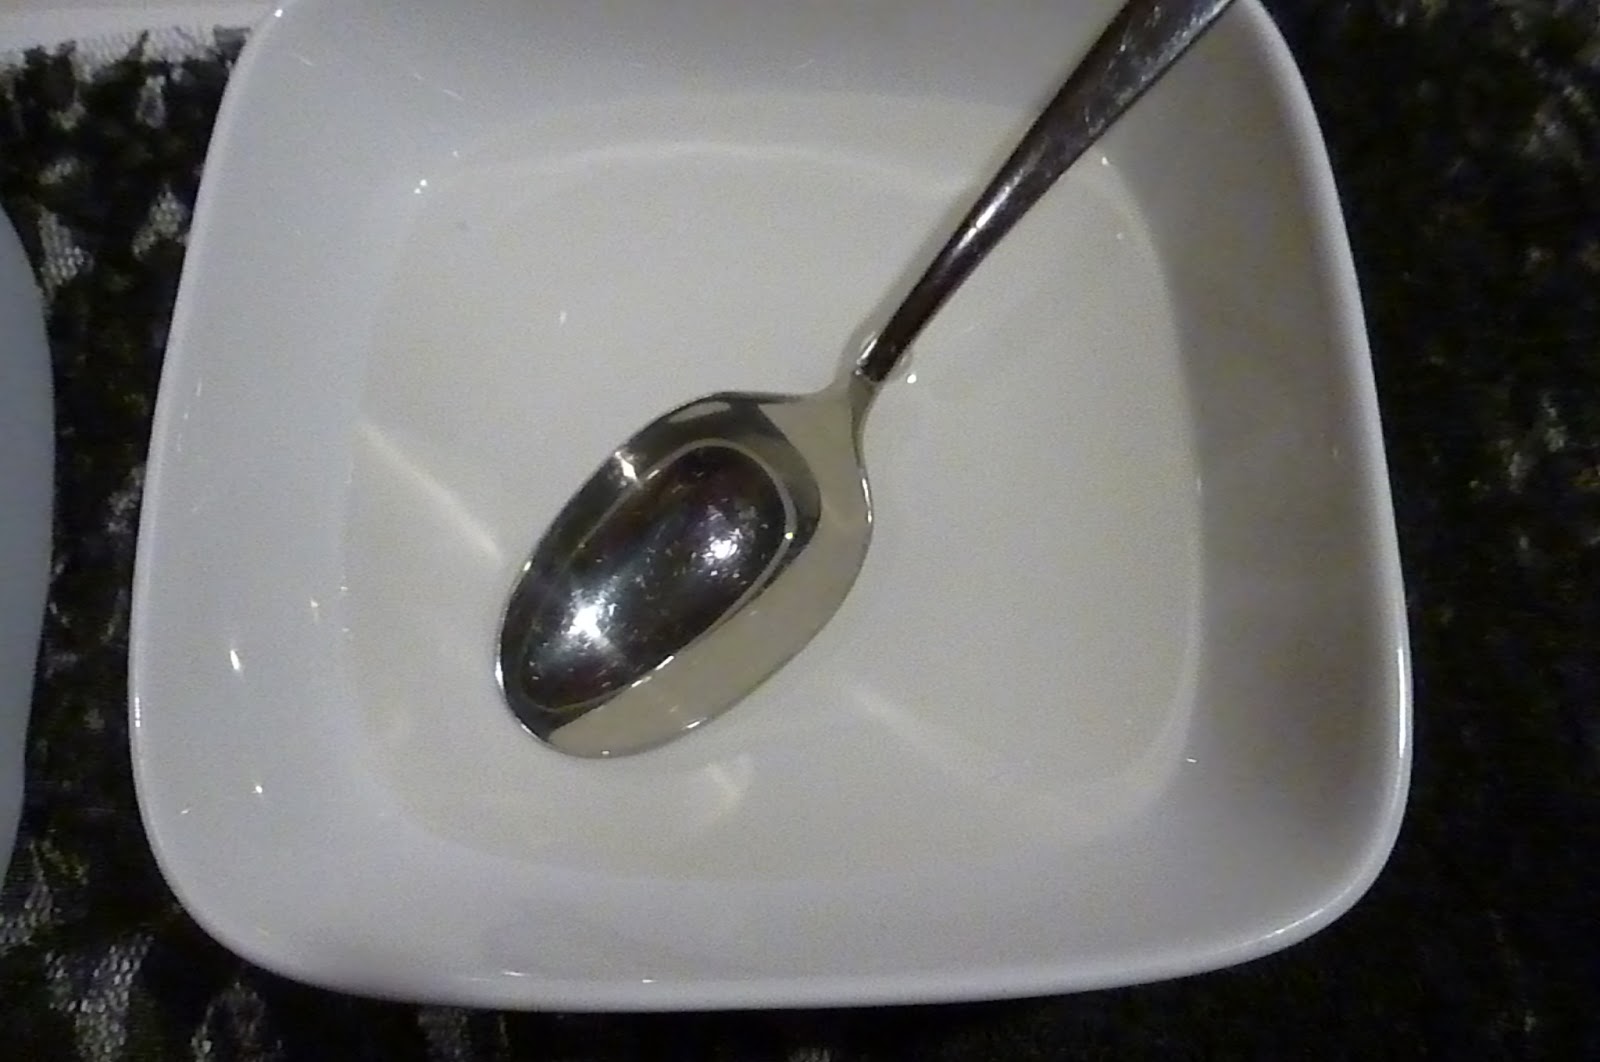
3. Eat brain food, varying from nuts, to fruit, to vegetables, to grains. Pretty much everything healthy. Also make sure you drink enough water.
4. If you prefer to listen to music whilst revising, stick to instrumental music, preferably classical music. I strongly suggest Brian Crain. I know popular songs are much more fun to listen to and I know you think you are able to learn and listen to songs at the same time, but to be honest you're not, I'm sorry. The lyrics of the song and the content you're revising will get mixed up in your head, and you don't want that.
But there is a way to turn music to an advantage whilst learning. Songs are easier to remember, so for the hard things to learn, just make a song. There's a reason why the alphabet sounds like a song. Different accents also tend to work.4. If you prefer to listen to music whilst revising, stick to instrumental music, preferably classical music. I strongly suggest Brian Crain. I know popular songs are much more fun to listen to and I know you think you are able to learn and listen to songs at the same time, but to be honest you're not, I'm sorry. The lyrics of the song and the content you're revising will get mixed up in your head, and you don't want that.
 |
| Source: Tumblr.com |
Now you've found your place to revise, got all your stuff, your food and your music, let's start revising. The way people revise varies from person to person. It all depends on what you prefer and what works best for you. Down here is a list of methods I find really helpful and maybe they'll be helpful for you too.
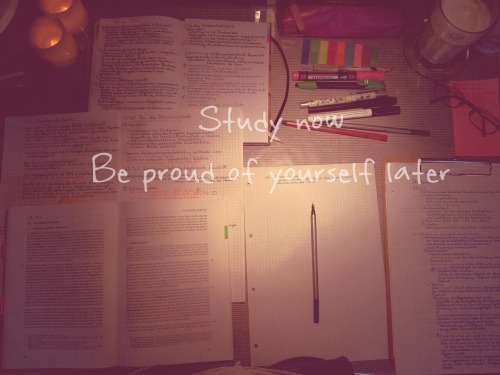
5. I always start of with reading the textbooks. I do this very early, before all exam stress has gotten to me. When you are relaxed you tend to take up more information then whilst you're stressed. If you are a little bit late with reading your textbooks, read whilst taking a relaxing bath in the evening before you go to bed. This works so well and you will be amazed with how much you'll remember the next day. If you don't like baths, try to find a nice cosy place to read where you can relax, the couch or your bed for example. Relaxing is key.
 |
| Source: Tumblr.com |
6. Sleep is very important. Get a good 8 hour sleep as much as possible. A good night sleep will not only make it easier to concentrate, but everything you've learned will be processed whilst you're sleeping. It will also reduce the amount of stress. Furthermore you'll feel happier when you've slept well, and during this period, we can use all the happiness we can get.
If you have trouble sleeping, try various methods of relaxing. Also stop revising 30 minutes to an hour before you go to bed, don't watch TV, use your laptop or your phone in this final hour. Instead, read a book or cuddle with your cat/dog/other cute animal. 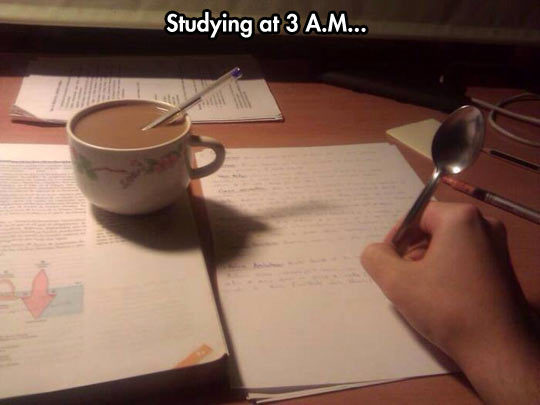 |
| Source: Tumblr.com |
7. To come back to the various learning methods, after I've read the textbooks I start doing the questions in the corresponding workbook, or the questions given to me by my teachers. Both reading and doing the questions are things that can (and should) been done way before revision time, but I didn't always do that, which is why I do them now. Stupid me.
Notes don't have to be pretty, but you need to be able to read them again. Don't waste precious time on your most beautiful handwriting. Colours are fun though and if you use them well they will work in your advance, by using the same colour for things which are linked to each other.
 |
| Source: Lolsheaven.com |
9. Practice. It is very important to practice. Only by practicing tests you'll know how much you know. You'll find out you know more than you thought, which will boost your confidence. But you'll also know which subjects need some more revision. Ask your teacher or look on the internet for exams from previous years.
 |
| Source: Tumblr.com |
11. Use flashcards to learn keywords. Start with all the flashcards, when you've got them right the first time, draw a line on them, when a card has three lines you can put them away, so the stack of cards becomes less and less. In the end you only have the cards left with keywords you find hard.
12. Use sticky notes. Stick notes with important things you find hard to remember on places you'll see them a lot, like the mirror or the refrigerator. This way you'll read to note a lot of times and will start to remember it better.
13. Use revision guides. You can purchase them online or maybe borrow them from school or the library. These guides help you revising for certain subjects. They are really handy, especially for subjects you find hard. I have a revision guide for French and Management, it's so difficult!
 |
| Source: Tumblr.com |
14. Keep the subjects separated. Don't learn more than 2 subjects on the same day, preferably not even more than 1. Especially when they are a bit similar. This way you will be less likely to mix up the two subjects.
15. Don't forget your friends. I know during revision all what seems important is school. Most of your friends will be revising too, meaning you won't see each other as much. Some people are able to revise together, but for most this will end up failing. Plan a night on which you and your friends will go out and have fun. You all need a break from revising, so why not take a break together?
16. Exercise. It is important to exercise. Sitting all day locked up in your room revising is not very active. Train those abs, muscles or boost your stamina by going for a run. It's not only good for your body, which will look amazing this summer, it will also make you learn better. It is proven that regular training leads to higher school grades. An exercise of 10 minutes rope skipping, push ups, sit ups, running, and so on, will suffice.
Now for the final tips which will help you remember information which is difficult the remember.
17. Taste and smell triggers memory. Chew a special type of chewing gum whilst learning for one subject and another type for another subject. Then, whilst taking the exam, chew the chewing gum belonging to the subject. For example: strawberry for math, apple for geography, orange for French, and so on.
 |
| Source: Tumblr.com |
18. The previous tip might help to trigger memory, but it's easier to connect something you need to learn to an existing memory, or something you can see yourself doing, an everyday thing.
This sounds quite vague, so let me give you an example:
For geography I had to learn the three different types of movements of tectonic plates. Which are convergent (moving towards each other), divergent (moving away from each other) and transform fault (past each other). To recognize the different types of movements I saw the plates as people, with convergent being two people who like each other, divergent, two people who don't like each other and transform fault, two people who don't know each other. Now I needed to connect the word to the movement. Convergent is quite similar to convention, which made me think of a YouTube convention where you meet YouTubers, people you like. Divergent is the name of a movie, where a girl left her parents, because she was different, she didn't belong there, didn't like the way they lived, so she moved away, leaving her parents behind. Transform Fault, if a person you know transformed himself and there was a fault so he could never go back to his own form, you wouldn't recognize him and walk past him.
It all sounds really stupid and lame, it probably is, but this way it's a lot easier to remember. But if you are as weird as me and come up with strange connections like these, you are bound to laugh during your exam. You are warned.In the Netherlands we call this DonkeyBridges, but I have no idea what they are called in English.
 |
| Source: Tumblr.com |
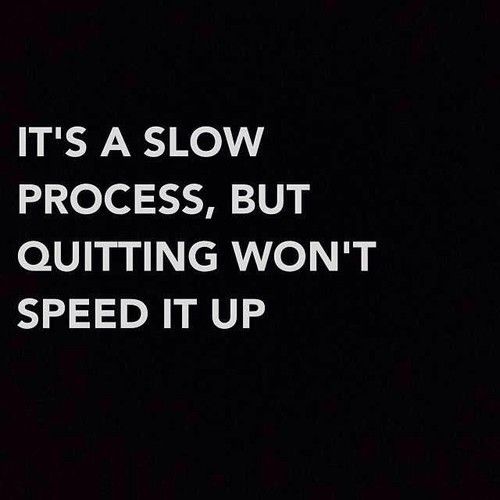
19. Be positive! Almost everyone will pass their exams, so why won't you? You've read, you've revised, you've made questions, you've written notes and summaries. You've done a great job and you are going to pass. And if for some unlucky reason you don't, it's maybe not meant to be.
Let me tell you a funny story, my mom met my dad, because she failed her finals on 0.1 point. I met my boyfriend because I had to redo my year, because I had to many bad grades. It's not as bad as it seems at first. But the chance of failing is small, really small. So you won't fail, you'll pass, I know it for sure!
20. And last, but not least Don't overdo it. If you are able to answer most questions on practice tests without having to look at your notes once, you know enough.
I hope you've found these tips helpful! If you know of any more tips, please leave them in the comments below. And I wish you all the best of luck with your revision and upcoming exams!
~Xx